| Home Page || About This Company || Meet The Staff | Other Services Available:| Custom Necks || Restorations & Parts |Some Interesting Things:| Links & References || News & Notes || The Bass Banjo || The SWR Project |
New Instruments:| AEB-2 & AUB-2 Scroll Basses || SSB Short Scale Bass || The New Devil Bass || Instruments Currently Available || Prices & Options || Cases || Strings || AEB-2/AUB-2 Technical || Necks || Bodies || Paint || Hardware || SSB Technical |
Vintage Ampegs: | Overview || AEB-1 & AUB-1 || ASB-1 & AUSB-1 || AMB-1 & AMUB-1 || SSB & SSUB || Technical Info |


AEB-2 & AUB-2 Scroll Basses
Design and Construction Details:
Fabricating The Hardware


Most of the hardware on these instruments is made from scratch here in my shop, because there isn't anything available that would work with this design. I machine the parts up in small batches, which isn't very efficient, but the production level of these instruments doesn't justify sending them out to an outside shop with CNC equipment. The only process that I have done outside is the plating, which is done by Astro Plating in Van Nuys. I buy my small parts, such as the strap buttons and the pickguard screws from Allparts.


The tuners are based on an obscure model made by Schaller. I have to modify them to fit the scroll-stye headstock by machining up new posts. The side walls of the scroll headstock are too thin to allow for a metal bushing to support the side loads, as on most flat headstocks. So, I've had to redesign the tuner to take the loads in a different way. The new tuner post has a large shoulder at the base, with a brass thrust underneath, which transfers the loads into the tuner's mounting plate.
On the left is the standard Schaller tuner that I buy. In the center are the new tuner post that I machine up, and the brass thrust washer. On the right is the modified tuner.


The tailpiece is made from a solid block of brass, and weighs more than a pound. The main reason it's so heavy is to make the instrument balance correctly. The tailpiece is mounted on two 3/8" diameter by 5" long brass bars that are embedded in the body. It's held on to them by the screws through the two rear strap buttons. The two vertical adjusting screws in the bridge rest in pockets in the inner ends of the brass bars, making a solid metal-to-metal connection between the bridge and tailpiece. The whole assembly of the bridge, bridge bars, and tailpiece is almost two pounds of metal!


Here's a stack of tailpiece blocks being machined.


On the left is a tailpiece with the machining operations completed. On the right is a tailpiece fully shaped and polished, ready for chrome plating.


A row of tailpieces being shaped and polished.


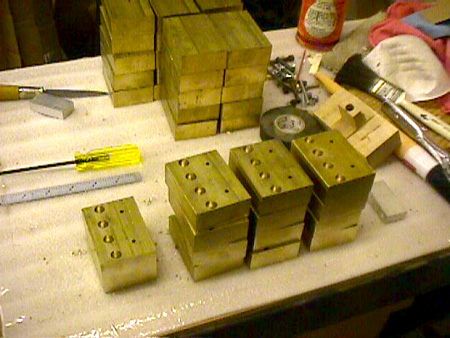
The nut starts out as a block of brass. After machining the holes for the screws, the blank is mounted on an aluminum holding bar. To get the layout lines on the blank quickly, I apply a sticker to it which was drawn in AutoCad LT and printed onto label paper. Holding it by the aluminum bar, the slots are rough cut on a bandsaw and the excess at the top is trimmed 
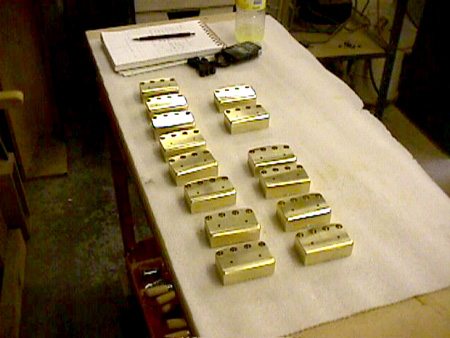
off. The nut is then rounded off and shaped by hand on an abrasive belt sander. The string slots are smoothed and radiused using special luthier's files. Finally, it's polished to a gloss and coated with lacquer to prevent tarnishing.


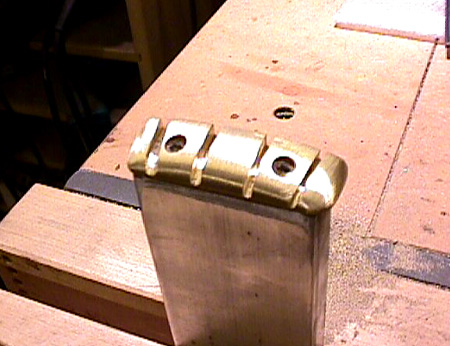
The nut after shaping and blending on an abrasive belt sander.


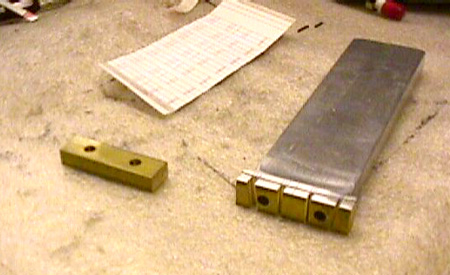
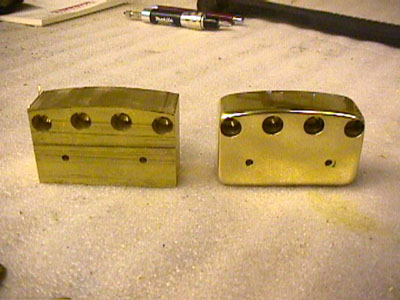
On the left is a brass nut blank, with the screw holes machined. On the right, the string slots have been roughly cut, and the blank is fastened to the aluminum holder.


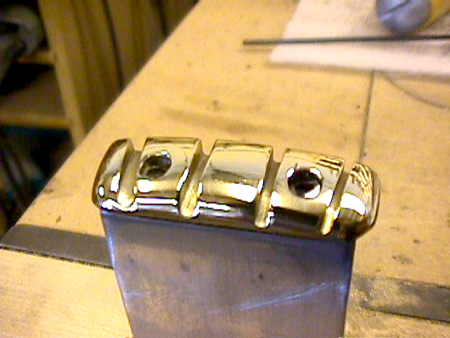
The finished nut, polished and sprayed with lacquer.


More Hardware