|
|
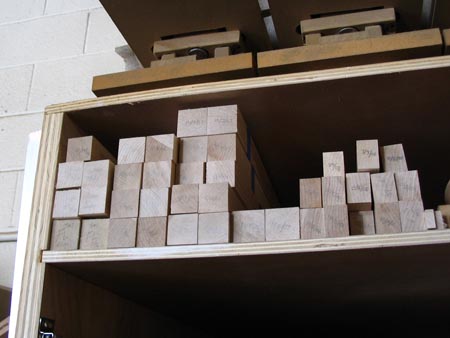
Here's where it all starts...I cut strips of "hard rock" maple in matched sets from the same board,
carefully orienting the grain. The strips are labeled and grouped, and stored for at least a year
in this cabinet. This is important. As the strips dry out, they may bend or twist. I want them to settle
into a relaxed state.
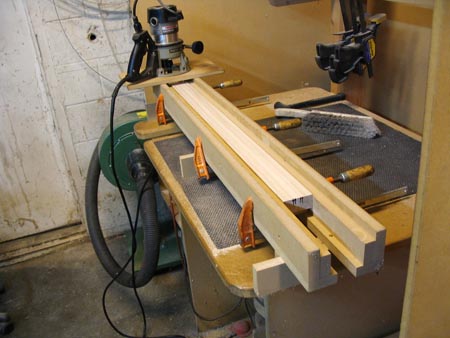
This fixture is used with a router to face the surfaces of the strips that will be glued. The strips are
allowed to float in the vertical plane in this fixture, so that any bending that happened during the drying
time will be machined out. It's very important that the strips are relaxed and naturally flat as they are
glued together.
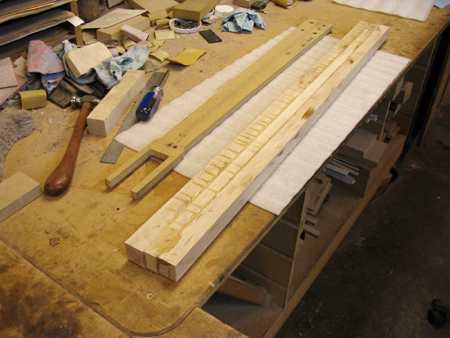
Here's the glued up neck blank. Next to it on the bench is the master template.

After some layout and drilling of reference holes, the neck blank gets routed for the truss rod. This fixture
cuts the curved channel that the truss rod fits into. Note the curved side rails of the fixture, which the
router base rides in.
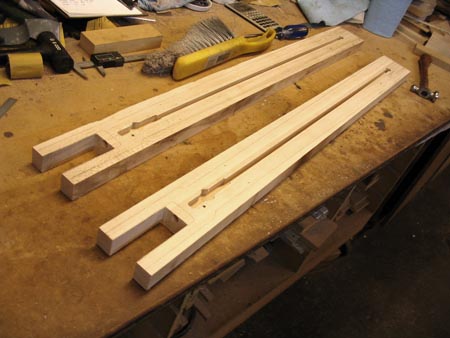
Here are two neck blanks, routed and machined in preparation for installation of the truss rods.
|
|
|
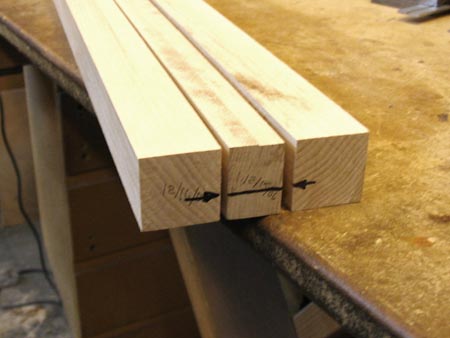
Here's how the strips of maple go together into the neck. The center strip is vertical grain (quartersawn),
with very tight grain. The outer strips are cut with the grain at about 45 degrees, and they are arranged
to be at opposing angles. Because they are cut from the same board and arranged this way, hopefully any future
movement of the wood will be balanced side to side.
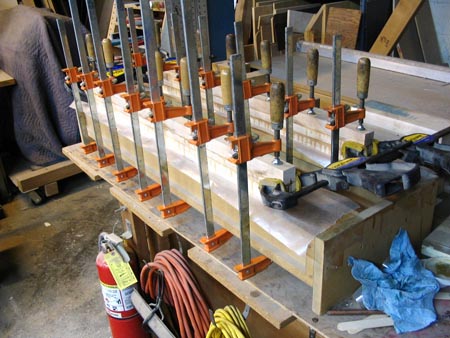
Here two sets of strips are being glued up into Scroll Bass neck blanks. I use Smith's Oak & Teak Epoxy for
this and all other structural joints. It's the best glue that I know of for difficult hardwoods.
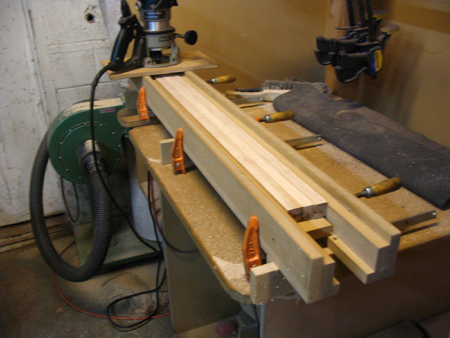
The neck blank goes back into the surfacing fixture, and the top and back surfaces are routed flat.
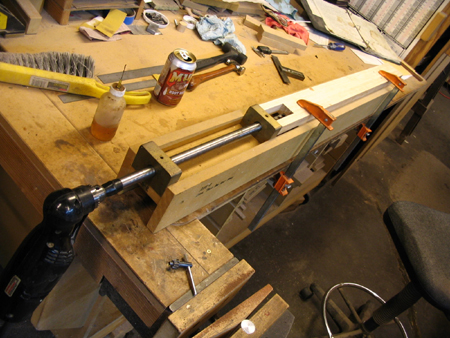
This fixture is used to drill the hole for adjustment of the truss rod. The long shaft has a drill bit at the
end, and it spins in the brass bearing blocks to hold it at the correct position and angle.
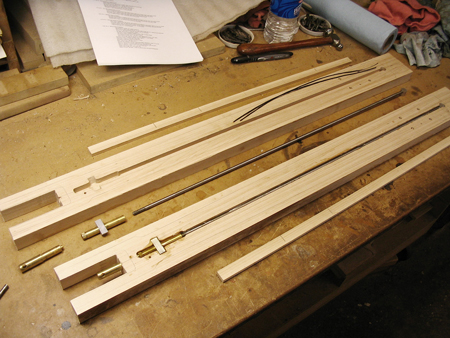
Here are the truss rod components that go into the neck; the truss rod, the double acting head assembly, the maple filler strip, and two strands of carbon fiber thread. The brass mandrel temporarily plugs the truss rod hole during the epoxy casting.
|
Next Page..
|